Final Project Overview
For the final project, you will create a full-stack, database-driven web application that uses the all languages taught in this class (HTML, CSS, JavaScript, PHP, SQL). Your web application may be on any topic, as long as you satisfy the requirements below. Your web application must work on itpwebdev.com or a different valid domain if needed. The final project is due on Friday, 05/06 at 11:59pm.
Requirements
General Requirements
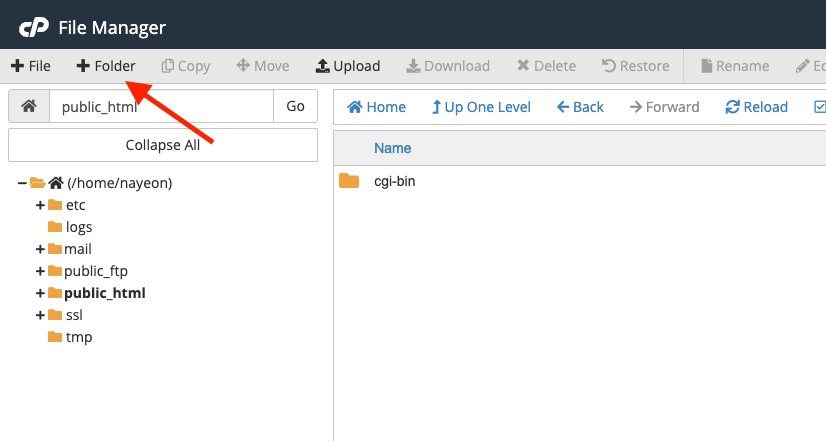
- Create a folder named
final_project and save all project files into this folder.
- You must build this web application using the technologies taught in this class (HTML, CSS, JS, SQL, PHP).
- This must be a fully functioning, polished web application that is uploaded to the itpwebdev server. This means:
- No JS/PHP/SQL errors should be displayed.
- All pages are working properly (no 500 or 404 errors).
- No extraneous text used during development (e.g.
var_dump() strings).
HTML/CSS Requirements
- At least four (4) distinct pages
- It is up to you on how to design each of the pages. However, each page must have substantial and real content that support the topic of your web application.
- “Coming Soon” pages do NOT count as a real page.
- Confirmation pages do NOT count as a page (e.g.
add_confirmation.php that displays a success message that users have added a record into the database successfully).
- Original layout
- Come up with your own layout (UI) and workflow.
- Do not use class examples, labs, or assignments with modified content. This will result in 0 (zero) score.
- You may use Bootstrap or other CSS frameworks but you may NOT use an HTML template or copy the exact design of an existing website.
- Navigation menu & logo
- A distinct navigation menu exists in all pages of the application.
- A logo that exists on all pages of the application. The logo can be text or an image.
- External stylesheet
- At least one (1) external stylesheet that includes CSS that is shared among multiple pages (e.g. CSS for the navigation menu).
- All other CSS can be written in internal stylesheets or its own external stylesheet.
- Consistent design
- All pages must have a similar structure (header, navigation, footer, etc.).
- Consistent look and feel (such as colors, fonts, etc) are used throughout the pages.
- Intuitive User Interface (UI)
- Clickable elements should be clearly marked,
- All links take users somewhere, even if it’s a Coming Soon page (no dead links),
- Responsive design
- All pages must look polished on mobile, tablet, and desktop devices. No squished or unreadable text, elements going off-screen, etc. Graders will check each page in each of these device sizes:
- Mobile: (0 – 767px)
- Tablet: (768px – 991px)
- Desktop: (992px and larger)
- Mobile-first approach is recommended, but not required.
- Correct and error-free code
- HTML Validation:https://validator.w3.org/.
JavaScript Requirements
- Any user input must be validated first by JavaScript, even if the server-side code will also do validation.
- Interactivity
- Must implement at least one event handler (click, hover, keypress, etc) for a meaningful interaction on at least one page that is NOT related to input validation.
- You may use jQuery.
Database Requirements
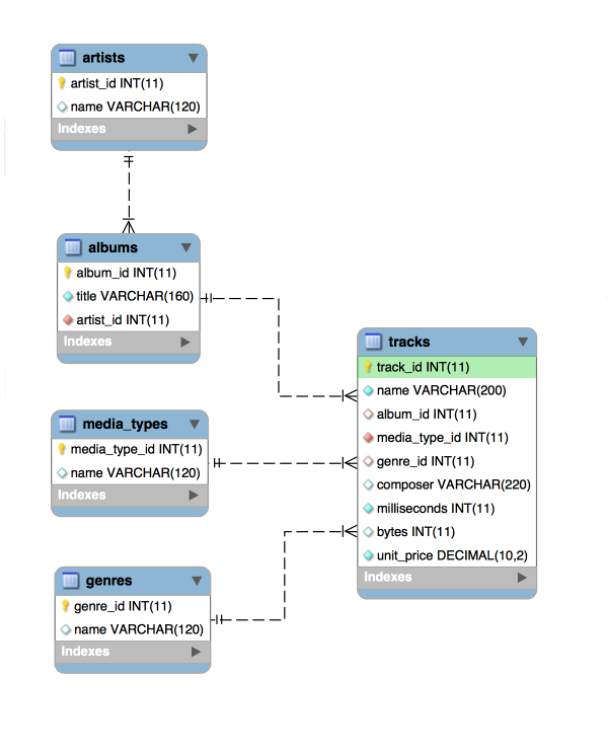
- Design (and normalize) your own database.
- Do not use the song, DVD, or football databases from lectures, assignments, or labs.
- At least three (3) tables and two (2) table relationships.
- Populate the database with sufficient data.
- There must be at least 10 rows in at least one table.
- If implementing pagination, the database needs to have enough records to show a few pages.
- Optionally, you may use data from other sources, such as:
- https://www.data.gov/
- https://data.ca.gov/
- https://data.lacity.org
- https://geohub.lacity.org
PHP Requirements
- Use MySQLi to connect and interact with the database.
- All MySQLi errors as discussed in class are checked and handled.
- CRUD functionality
- Web application needs to Create, Retrieve, Update, and Delete records from the database.
- You can allow any user to CRUD or only allow privileged users to perform certain actions (e.g. only admin users can delete records).
- Handle any user input errors, even if JavaScript already does so.
Project Extras
Choose to implement at least two (2) of the following extras:
- A CSS framework or library (except Bootstrap), such as Foundation, Materialize, tailwind, etc.
- A CSS pre-processor such as Sass.
- JSON/ JSONP API or REST (Server-Side) API,
- An API demoed in class or used in your assignments or labs (e.g. Movie DB, iTunes, Weatherbit, etc) can be used but it will NOT be counted as an extra requirement.
- List of Public APIs
- JS library, plugin, or framework (jQuery does not count)
- PHP library or framework such as Laravel
- CSS / JS Animations:
- Must be more complex than a simple transition from one CSS property to another. A good rule of thumb: transition at least two properties. Some examples:
- https://codepen.io/matchboxhero/pen/EwdmmP?editors=1100
- https://codepen.io/benstanley/pen/icqok
- Different User Permission Levels:
- At least three levels: general (everyone), registered users, admin (privileged) users
- For example:
- Everyone is able to search and get results.
- Only registered users can create and update new records (blog posts, comments, etc).
- Only admin users are able to delete records.
- Frontend ↔ Backend AJAX ( JavaScript ↔ PHP )
- Sessions or cookies not related to registration or login
- Pagination
- Web Storage
- File Upload
- Other – consult the instructor.
Final Project Summary
- When finished with the final project, write up a project summary by filling out one of the templates.
- MS Word Doc
- Google Doc (Click File -> Make a copy to make a copy of it to your own Google Drive. Then fill it out).
- Save this as a PDF and upload it to the itpwebdev server.
- Link the PDF on your
student_page.html. Label it “Final Project Summary.”
Submission
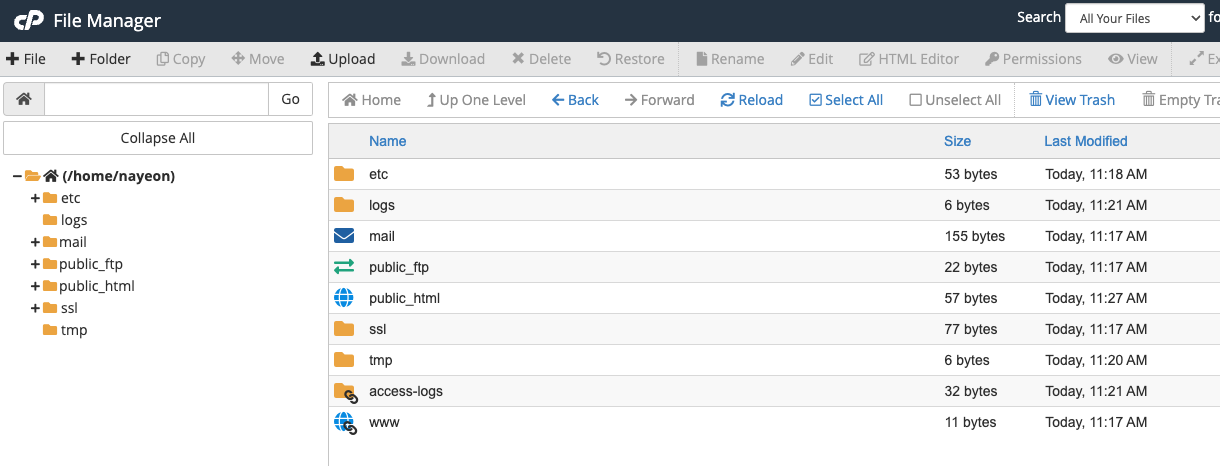
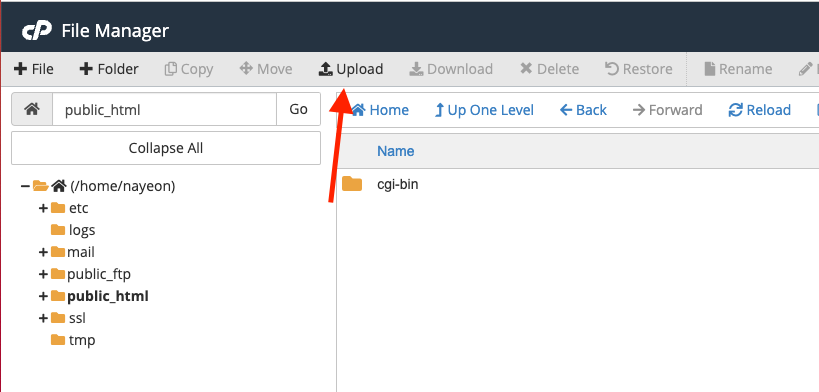
- Upload the
final_project folder with all of its contents to the itpwebdev server via cPanel -> File Upload.
- Link the final project homepage to your
student_page.html.
- Pro tip: there are ALWAYS issues when uploading files to the “live” web server. Give yourself plenty of time to upload (i.e. don’t upload to the itpwebdev server 5 minutes before the deadline).
- “But it works on my computer” is not an acceptable excuse. This is a web application – it must work correctly on the web and must be accessible to anyone with the Internet.
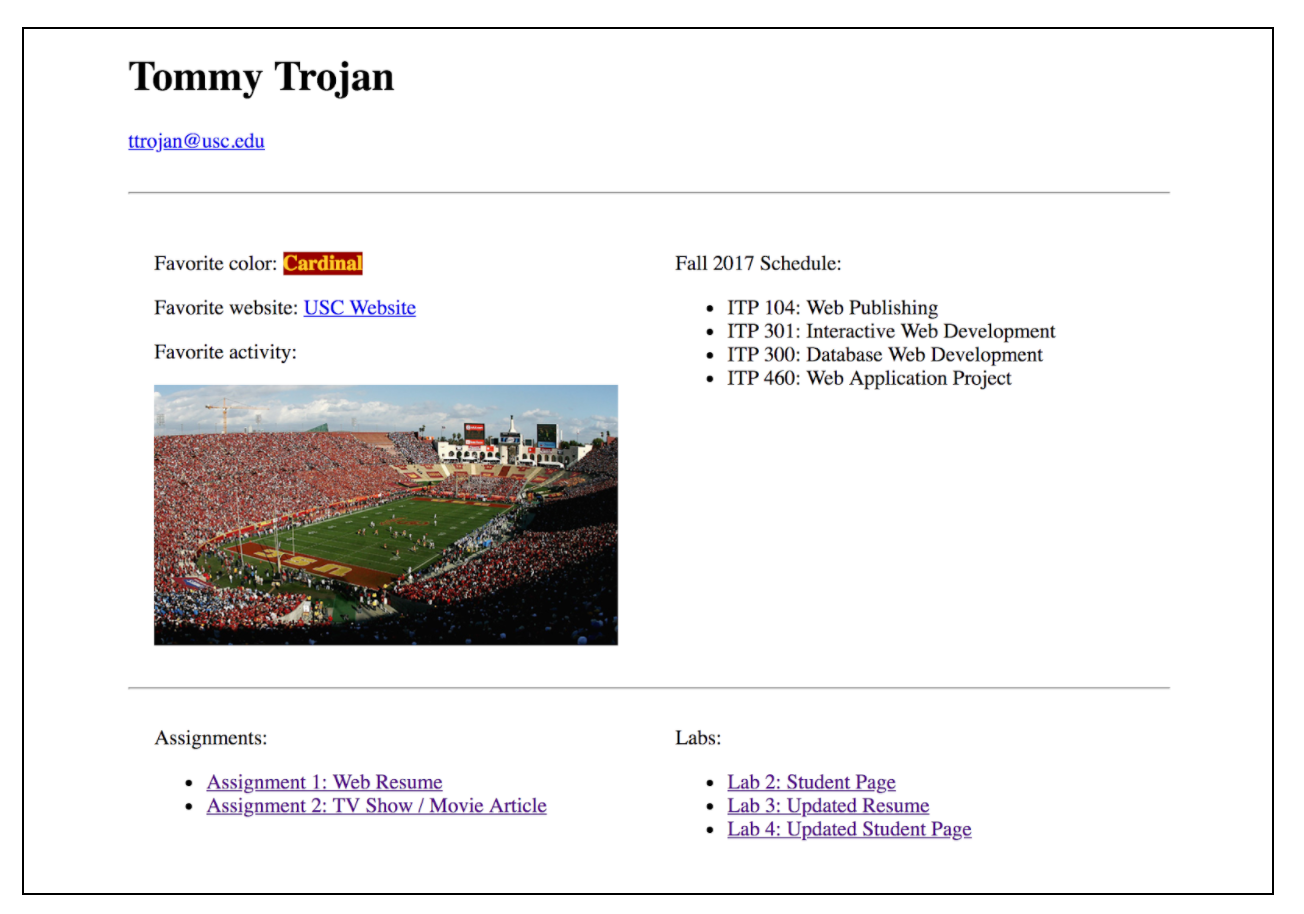
Past Final Projects
Below are several different types of web applications but all of them met the basic requirements. Get as creative as you’d like. Treat this like a project that you want to use to show off to potential employers 🙂
Resources
See this edstem post for a full list of resources you can use on this final project. In web development, there are so many free resources. This list covers some that have been helpful to students in the past.
Final Project Extension
Only if you absolutely need it — you may take an extension that will give you an extra day to complete the final project (due Sat 5/7 by 11:59pm). To obtain an extension, fill out this form by 5/6 11:59pm: https://forms.gle/6wD5KBas2jYMoUWN9 .
There will be a 7% penalty for using an extension and no office hours on Saturday. So only take the extension if you really need it. Responses to edstem posts will also be limited.
Final Project Presentations
On the day/time that is scheduled for the Final Exam for this class, we will meet on Zoom for final project presentations. Everyone is required to attend but presenting your final project is optional for extra credit.
Presentation Date/time
- 12pm section: Wed 5/11 at 2-4pm Pacific time.
- 4pm section: Thu 5/5 at 4:30pm – 6:30pm Pacific time.
Presentation
The presentation is expected to be about 5 minutes long. Give us a tour of your final project and highlight any specific features that you want to show off.
Tell us your:
- Name
- Year
- Major
- The topic of your final project
- Why did you choose this topic?
- Who is the main audience for this project?
- Click through the pages and give us a tour of your final project.
Sign up to present
Because we have a limited time slot for final project presentations, only the first 22 people that sign up will be able to present. To sign up, add your name to this google sheet: https://docs.google.com/spreadsheets/d/1dkgugE9HBjZPMncNLWypz1dBPrVlR44eeBMtJ6WxbnY/edit?usp=sharing.