Overview
This assignment will help you get more practice with PHP syntax, form variables, and conditional statements
Sample
See working sample here: http://303.itpwebdev.com/~ta303/samples/lab-php-form/form.php
If not sure how to address certain edge cases, try out the sample and match your output to what the same outputs.
Requirements
- Download starter file.
- Form Page (
form.php)- Fill out
<form>tag’s action and method attributes appropriately. - When this form is submitted, it will run
submit_form.php.
- Fill out
- Form Output / Submission Page (
submit_form.php)- Perform all validation as needed.
- If any of the fields are not filled out (except Flavor), display “Not provided” message in red.
- Tip: The provided HTML pages are using Bootstrap. Therefore, you can use CSS class
text-dangerfor red text and the classtext-successfor green text.
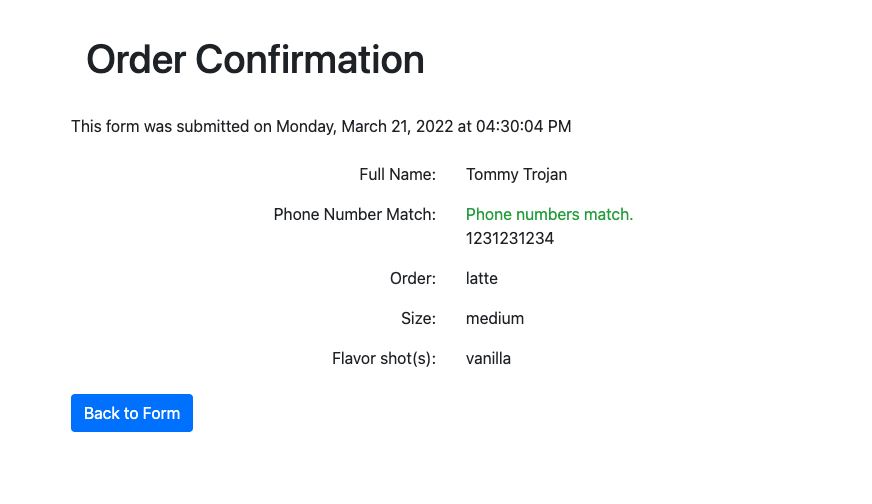
- Show a message with current date & time in following format:
- This form was submitted on [weekday], [month] [day], [year] at [time].
- Example: This form was submitted on Sunday, September 17, 2017 at 03:15:14 PM.
- For the hour, use 12-hour format (not 24) with leading zeros.
- Use Los Angeles timezone.
- Refer to the PHP official documentation and search for the
datefunction to see how to get the formatting exactly right.
- This form was submitted on [weekday], [month] [day], [year] at [time].
- Display following values in
submit_form.phpafter the form is submitted:
- Perform all validation as needed.
Submission/Upload to the server
Please follow the submission requirements below carefully. You will be deducted points for not following submission requirements to the teeth.
- Open a browser and go to https://303.itpwebdev.com/cpanel (it will redirect you to https://54-148-150-30.cprapid.com:2083/).
- Login with your username and password (this password does not sync with your USC NETID password. You set this password in Lab 1. If you don’t remember your password, post on EdStem and a course staff member will reset it for you).
- Scroll down to Files section and click on File Manager. You will see a list of folders and files like below.
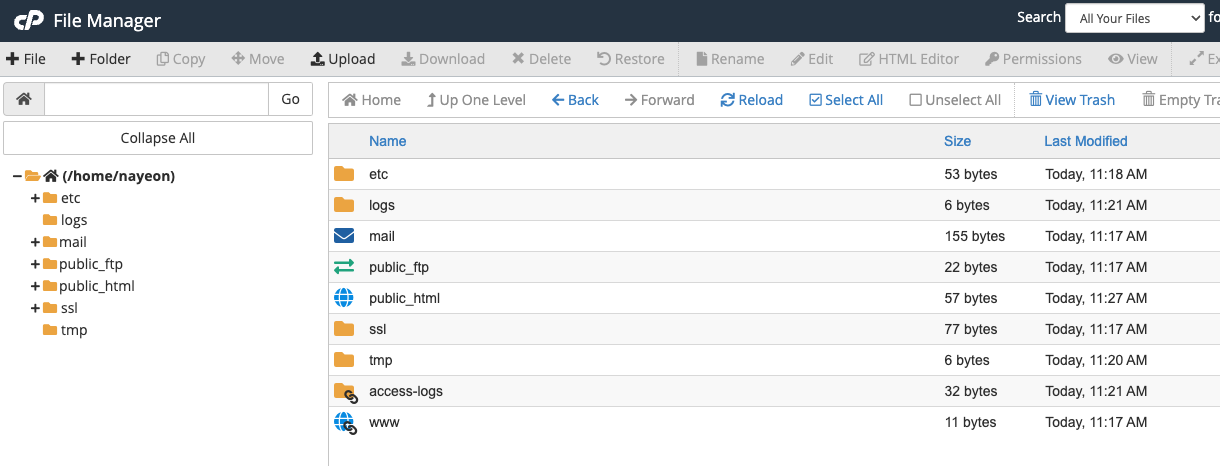
- Double click to navigate inside the
public_htmlfolder. - Create a new folder inside the
public_htmlfolder by clicking on the +Folder button on the top left.
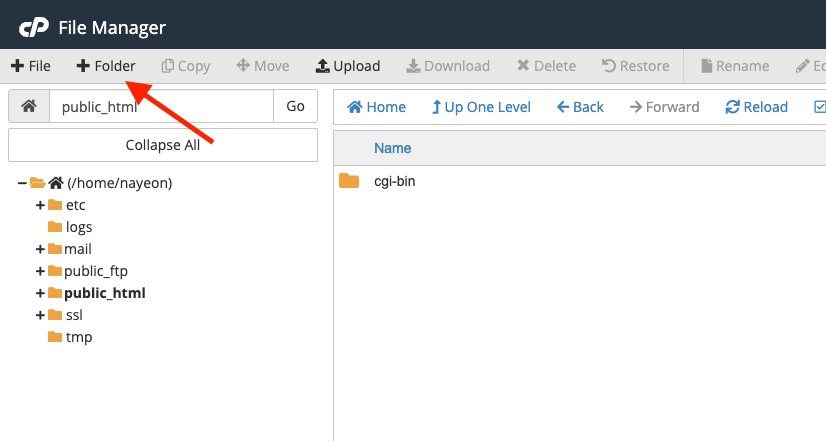
- Name the folder
lab09. Double click it to navigate inside this folder. - Click on “Upload” to upload all lab files to this folder.
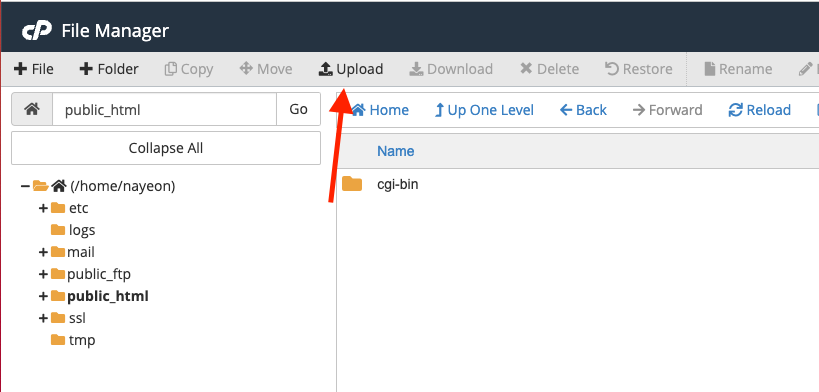
- Drag and drop all lab files to upload into this folder.
- In your browser, go to
http://303.itpwebdev.com/~yourusername/lab09/form.phpto check that the assignment file has been uploaded correctly. - One last thing. In your computer, open up
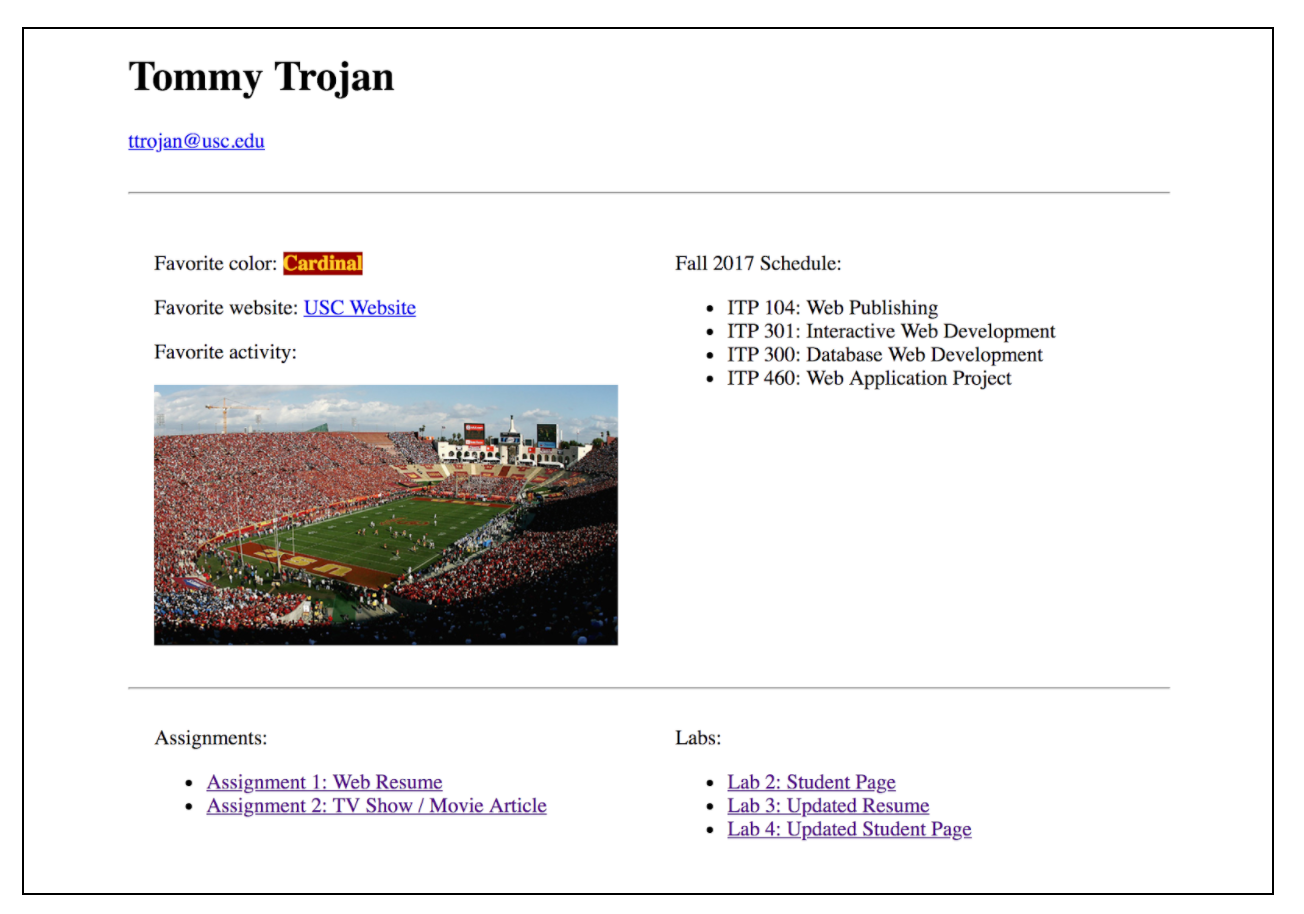
student_page.htmlthat you created in Lab 2. Add a link to this assignment tostudent_page.htmlunder the heading “Labs” so that the graders can easily access your completed assignment. - Re-upload the updated
student_page.htmlto the itpwebdev server via cPanel -> Files -> File Manager. If it asks you want to overwrite the previous file, click Yes. - If all the above is completed, go to your student page at
http://303.itpwebdev.com/~yourusername/student_page.htmland check that the link to this assignment is there. The TAs/graders use this link to access your assignment so make sure this is working! Below is a screenshot sample of what it should look like.
- (Optional) If you are having trouble uploading to the server and cannot upload on time, add all files for this assignment in a folder, compress it as a
.zipfile and upload it to Blackboard. On Blackboard, go to Assignments/Labs -> Lab 9: PHP Form Output. You will get some points deducted for not uploading correctly but at least you will not get a zero.