Overview
This lab is intended to help start your Assignment 6. Refer to the assignment requirements while you are working on this lab.
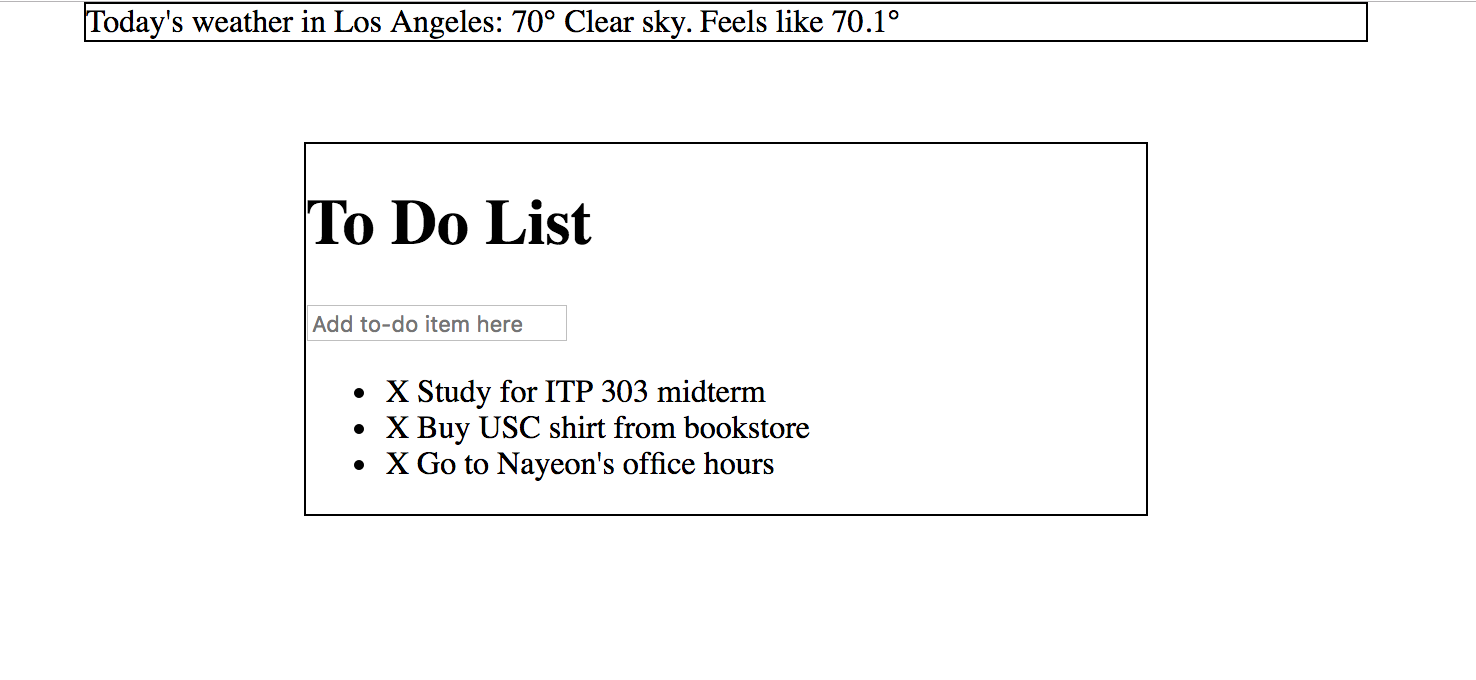
Sample
Requirements
- Code set-up
- Create the following new files:
-
todolist.htmlfile, style.cssfile, andmain.jsfile.
-
- Include the jQuery library in your
.htmlfile. - Write all your CSS in the
.cssfile.- Link your
.cssfile into the.htmlfile.
- Link your
- Write all your JavaScript in the
.jsfile.- You can add your
.jsfile in your.htmlfile by using<script src="name_of_file.js"></script> - Use jQuery for all your DOM manipulation and event listening. You will write very little pure JS.
- Note you can still use JavaScript along with jQuery. For example:
$("button").on("click", function() {
    let isOn = true; // JS way of creating variables
    if( isOn == true) { // JS way of if/else statements
        $("input").val("The app is on");
    }
});
- You can add your
- Create the following new files:
- Simple HTML structure
- Before working on adding/deleting items or styling the app, create a basic HTML structure that will help you start the assignment.
- Create an area at the top of the page with some text about today’s weather. A placeholder is fine for now.
- Below the weather information, create a container that will hold all your to do list items. Make this container somewhere between 400 and 600px wide.
- At the top of the to do list, create a heading that displays “To Do List.”
- Below the heading, add an input area that allows users to type in a to do item here.
- Below the input, use the
<ul>tag to create a list of at least three to do items. - Within the list item, add a placeholder for the “square” icon. This can simply be a character for now (In the sample, it is the
X). Later you can replace the icon with an emoji (more details in A6).
- Simple CSS
- In your newly created
.cssfile, add some basic CSS to help you get started. - Add a border around the weather and to do list.
- Set a width to the weather and to do list.
- Center the weather and to do list to the browser.
- That’s sufficient for the lab. Feel free to add more CSS if you’d like.
- In your newly created
- Weather API information is displayed at the top of the page.
- Get Los Angeles’s weather information from the Weatherbit.io’s API. Sign up for a free account to obtain an API key.
- Read their documentation to find out how to get Los Angeles’ current temperature (in Fahrenheit), a short weather description and the apparent temperature (what it “feels like”).
- Start by looking for the endpoint of the API. What’s the URL you need to hit to communicate with this service?
- Use jQuery’s ajax method get the information from Weatherbit.
- When completed, upload completed file to the server and add a link to this lab in your
student_page.html. Re-upload thestudent_page.htmlto the server.