Overview
This lab helps you to solidify the basics of manipulating the DOM with JavaScript and event-based programming with JavaScript. You will create an interactive photo gallery.
Requirements
- Download the starter file from this Google Drive link.
- Do not change the HTML or the
styles.cssfile. - In the browser, open up the console like in the lecture and have it open as you complete this lab. It will be helpful to see errors right away. You can also log things out on the browser to test your code.
- Write all CSS and JavaScript in
gallery.html. - Review the HTML structure. Note that name of each thumbnail’s name is in a child div.
- Write CSS in the
<style>tag so that when a user hovers over a thumbnail:- Name of the place is displayed on top of the thubmail. Use CSS
positionproperty to achieve the overlapping effect. - Change the text color of name to white.
- Change the background color of name to a slightly transparent black. Background width is as wides as the thumbnail.
- Hint: Use
rbga()as background color to make background color slightly transparent.
- Hint: Use
- Position the name so that it is displayed at the bottom of each thumbnail.
- Name of the place is displayed on top of the thubmail. Use CSS
- Write JS in the
<script>tag so that when a user clicks on a thumbnail:- Update main image to clicked thumbnail image.
- Hint: Refer to this article to see the various traversal properties. Use
console.log()to log out different traversal properties.
- Hint: Refer to this article to see the various traversal properties. Use
- Update main image’s alt attribute to clicked thumbnail’s alt attribute.
- Update the caption below the main image to the clicked thumbnail’s alt attribute.
- Update main image to clicked thumbnail image.
Sample

Submission/Upload to the server
Please follow the submission requirements below carefully. You will be deducted points for not following submission requirements to the teeth.
- Open a browser and go to https://303.itpwebdev.com/cpanel (it will redirect you to https://54-148-150-30.cprapid.com:2083/).
- Login with your username and password (this password does not sync with your USC NETID password. You set this password in Lab 1. If you don’t remember your password, post on EdStem and a course staff member will reset it for you).
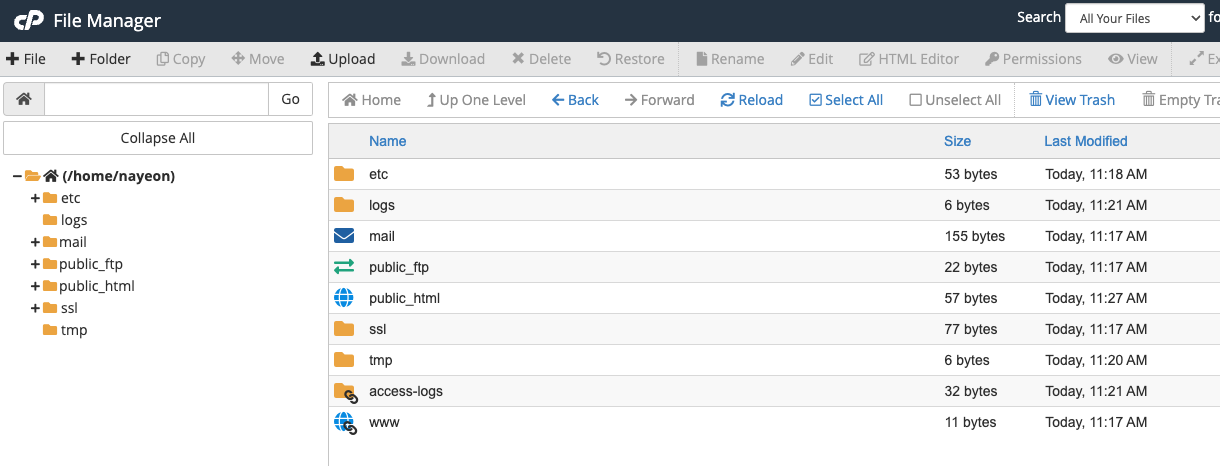
- Scroll down to Files section and click on File Manager. You will see a list of folders and files like below.
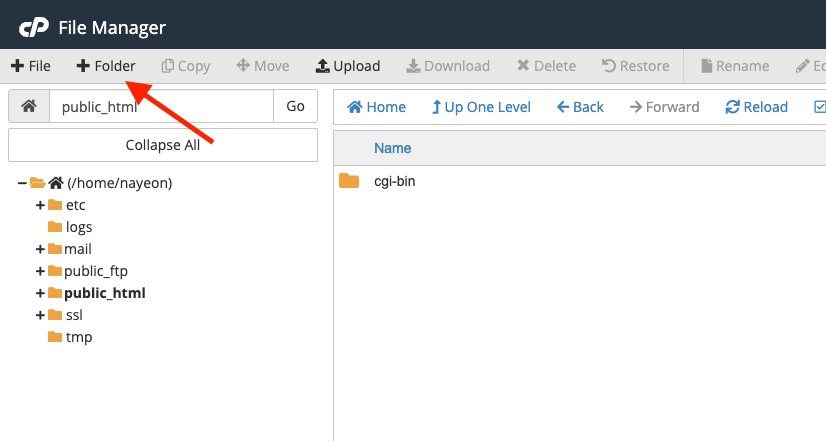
- Double click to navigate inside the
public_htmlfolder. - Create a new folder inside the
public_htmlfolder by clicking on the +Folder button on the top left.
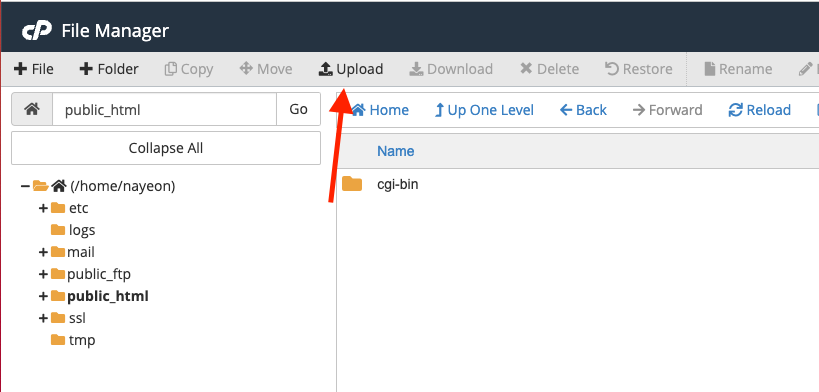
- Name the folder
lab04. Double click it to navigate inside this folder. - Click on “Upload” to upload all assignment4 files to this folder.
- Drag and drop all assignment files to upload into this folder.
- In your browser, go to
http://303.itpwebdev.com/~yourusername/lab04/gallery.htmlto check that the assignment file has been uploaded correctly. - One last thing. In your computer, open up
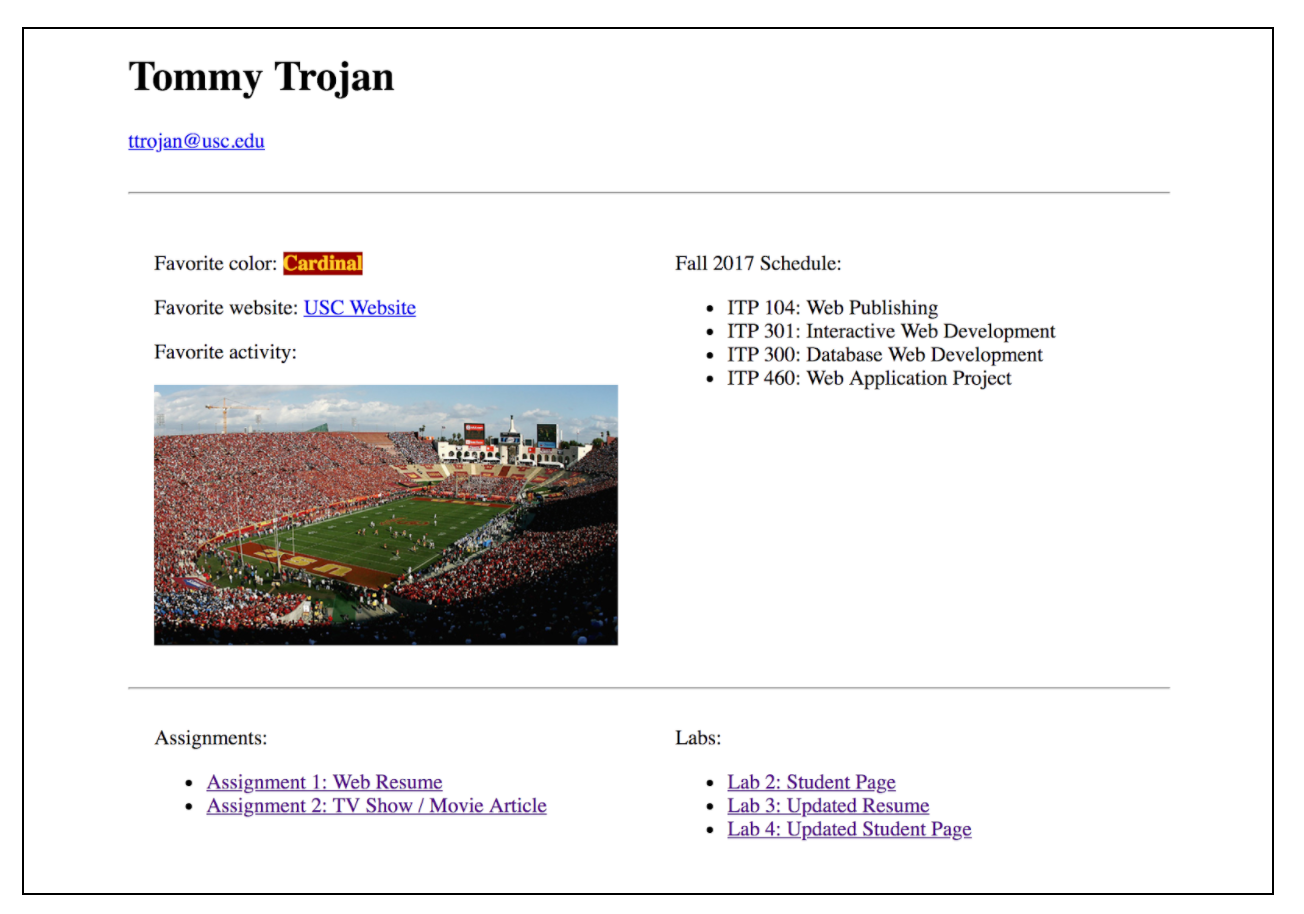
student_page.htmlthat you created in Lab 2. Add a link to this assignment tostudent_page.htmlunder the heading “Assignments” so that the graders can easily access your completed assignment. - Re-upload the updated
student_page.htmlto the itpwebdev server via cPanel -> Files -> File Manager. If it asks you want to overwrite the previous file, click Yes. - If all the above is completed, go to your student page at
http://303.itpwebdev.com/~yourusername/student_page.htmland check that the link to this assignment is there. The TAs/graders use this link to access your assignment so make sure this is working! Below is a screenshot sample of what it should look like.
- (Optional) If you are having trouble uploading to the server and cannot upload on time, add all files for this assignment in a folder, compress it as a
.zipfile and upload it to Blackboard. On Blackboard, go to Assignments/Labs -> Lab 4: Photo Gallery. You will get some points deducted for not uploading correctly but at least you will not get a zero.