Overview
You will be re-creating your student_page.html to be structured that it has two rows and two columns.
Requirements
HTML & CSS
- Create a new HTML file called
student_page.html. You can edit your previousstudent_page.htmlfrom Lab 1, but you may find it easier to just start from scratch. - All content requirements are similar to Lab 1:
- Name, email address, favorite color, favorite website
- Pick a favorite activity and add an image of it
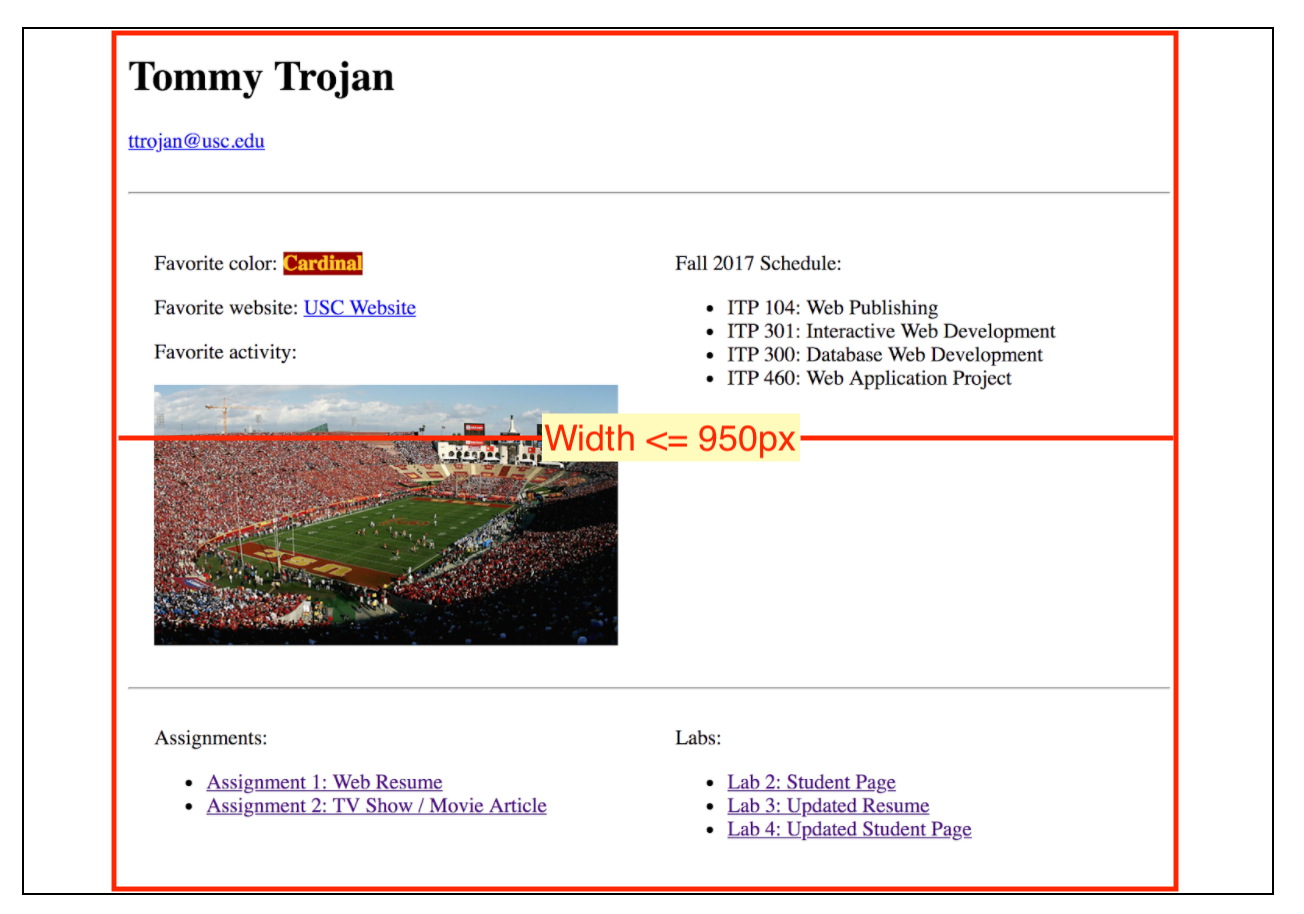
- Put entire content within a
<div>with set width (≤ 950px) and center it on the page. - First row:
- Name as heading
- Email address
- Second row:
- First column: Favorite color, website, and activity
- Second column: List of classes you are taking this semester
- Third row:
- First column: Links to assignments
- Second column: Links to labs
- Add links to previous work (NOTE: add the link but clicking on the links will not actually show the page yet)
- You do not need to include Lab 1.
- Link Lab 2 to this file (itself).
- Feel free to add any additional styling or design as long as the requirements above are met.
- Make sure all tags are closed, all attributes have opening and closing double quotes, and no extraneous tags linger. You will be deducted points for syntax errors.
- You can use a validator like this one to check for syntax errors: https://validator.w3.org/
- Tips:
- Create a
<div>for every row and column. - Nest column
<div>inside of each row<div> - Don’t forget to clear the floats after the last column
<div>of each row! - You can use
border-topand/orborder-bottomproperty to create lines between each row.
- Create a
Submission/Upload to the server
Please follow the submission requirements below carefully. You will be deducted points for not following submission requirements to the teeth.
- Open a browser and go to
https://303.itpwebdev.com/cpanel(it will redirect you to https://54-148-150-30.cprapid.com:2083/). - Login with your username and password (this password does not sync with your USC NETID password. You have created this password separately. If you don’t remember your password, post on EdStem and a course staff member will reset it for you).
- Scroll down to Files section and click on File Manager. You will see a list of folders and files like below.
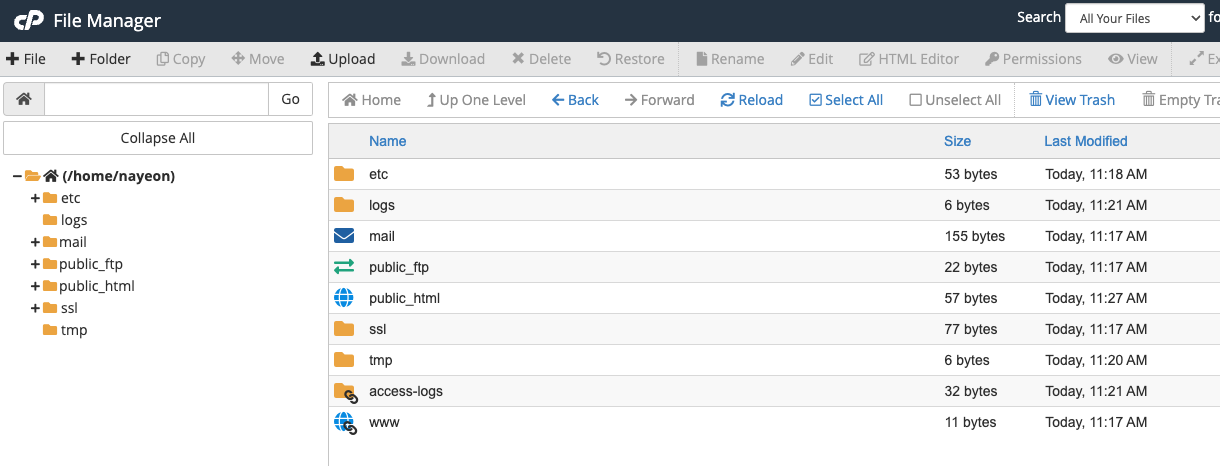
- Double click to navigate inside the
public_htmlfolder. - Click on “Upload” to upload your files to your server account.
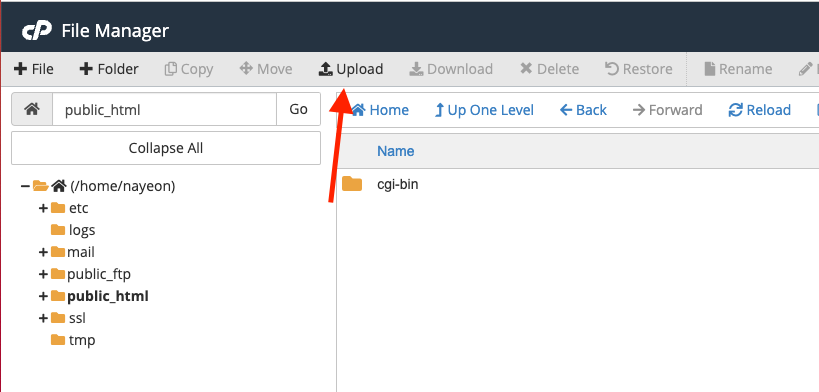
- Drag and drop your
student_page.htmlto upload this file to the server. You will overwrite the existingstudent_page.htmlfile. - In addition, upload this file to Blackboard. Put
student_page.htmland any images into a folder namedlab02or similar. Compress the folder in to a.zipfile. Go to Blackboard -> Assignments/Labs -> Lab 2: Updated Student Page and upload the.zipfile. You will be able to submit multiple attempts. Only the last submission will be graded.
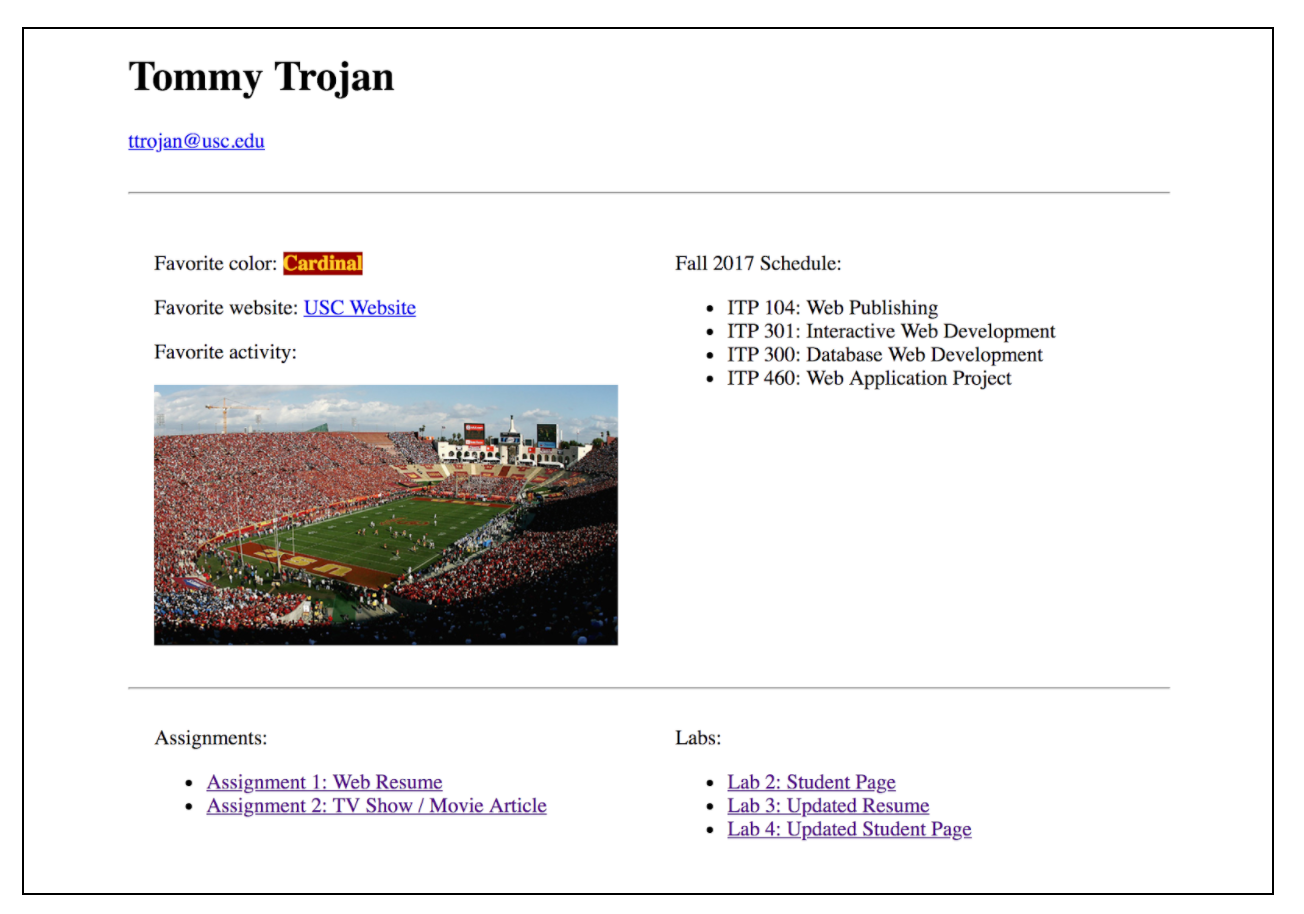
Sample
Annotated: