Overview
This lab serves as a basis and setup for future assignments and labs. You will:
- Create your first HTML page and add some basic information about yourself.
- Ensure you can access your account on the itpwebdev web server.
- Upload your first webpage to “the Internet” via cPanel.
Requirements
HTML & CSS
- Create a new HTML file named
student_page.html(all lowercase, no spaces) - Using the HTML you learned in lecture, add the following info in your
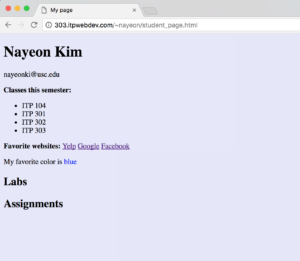
student_page.html. Scroll down below for a sample.- Your Name (bolded, bigger font size than rest of the page, use a heading tag)
- Your Email Address
- A list of courses you are taking this semester (A bulleted list)
- At least three of your favorite websites with correct links to them.
- Your favorite color. Set the text of your favorite color to that favorite color. (e.g. blue, green, pink etc)
- Some kind of background color that covers the entire page.
- An area titled “Labs.” You will be adding links to your future labs here.
- An area titled “Assignments.” You will be adding links to your future assignments here.
- When complete, you need to upload this to a web server to make this page “live” on the Internet. Follow the instructions below to get access to the itpwebdev web server.
- Make sure all tags are closed, all attributes have opening and closing double quotes, and no extraneous tags linger. You will be deducted points for syntax errors.
- You can use a validator like this one to check for syntax errors: https://validator.w3.org/
As of 1/13, server is running into issues so you will not see your files under your domain. Skip the requirements below that require you to check something on your domain. Still upload the file on cPanel AND blackboard.
Server set up
- Go to https://303.itpwebdev.com/cpanel (it will redirect you to https://54-148-150-30.cprapid.com:2083/).
- Log in with your USC NetID as the username. Get the temporary password from Edstem.
- Upon login, change your password by scrolling down to the Preferences section. Click Password & Security and change your password to something memorable but hard to guess.
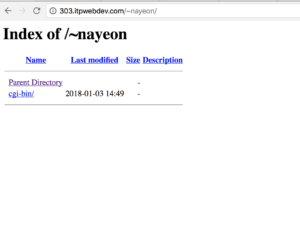
- Check that your domain is working. Every ITP 303 student is assigned to a domain that points to your assigned server space. Your domain would be something like:
http://303.itpwebdev.com/~youruscusername/. Replace youruscusername with your USC Net ID and you should see something like the screenshot below:
- If your domain is working correctly, you can now upload your completed
student_page.htmlto the server.
Upload your first file to the web server
- Open a browser and go to https://303.itpwebdev.com/cpanel (it will redirect you to https://54-148-150-30.cprapid.com:2083/).
- Login with your username and password (this password does not sync with your USC NETID password. You have created this password separately. If you don’t remember your password, post on EdStem and a course staff member will reset it for you).
- Scroll down to Files section and click on File Manager. You will see a list of folders and files like below.
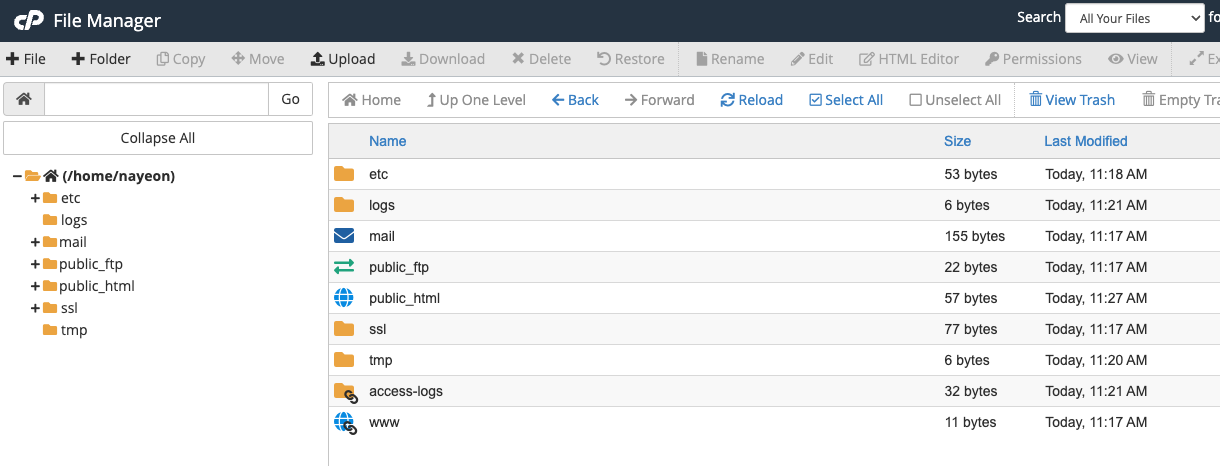
- Double click to navigate inside the
public_htmlfolder. - Click on “Upload” to upload your files to your server account.
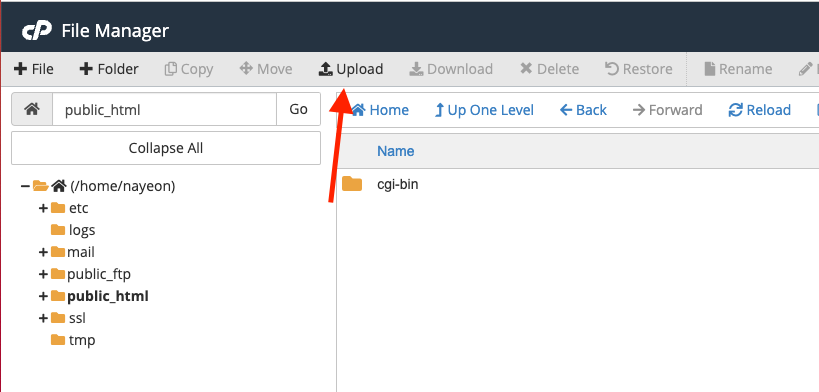
- Drag and drop your
student_page.htmlto upload this file to the server. - Once the upload is completed, in your browser, go to
http://303.itpwebdev.com/~yourusername/student_page.htmlto check that yourstudent_page.htmlhas been successfully uploaded and is now live on the Internet. Replace yourusername with your USC NETID that you use to log into Blackboard and etc. Leave the~symbol before your username. - That’s it! This page is now on the Internet and anyone with this URL can access this page. Do not modify this page since the last modified timestamp is considered the time you submitted this file.
Sample