Overview
In his assignment, you will write HTML and CSS to build your first webpage about something that you are interested in. You will use <div> tags to create “sections”, CSS to style the page, and need to look through HTML documentation to add HTML tags that are not covered in this lecture.
Resources
You learned the syntax and some example usage of HTML & CSS in lecture. Now you are expected to look up some HTML tags and CSS properties to use on this assignment. These resources are recommended but you may use other sources.
- List of common HTML tags (MDN)
- List of common HTML tags (W3 Schools)
- List of CSS properties (MDN)
- List of CSS properties (W3 Schools)
- Getting Started with HTML (MDN) – this is the first article of a series of articles about HTML. Click “Next” on this article to continue reading.
- What is CSS? (MDN) – this is the first article of a series of articles about CSS. Click “Next” on this article to continue reading.
Requirements
HTML & CSS
- Create a new HTML file. Name the file
interest.html(all lowercase). - Write all CSS in an internal stylesheet. Do not write inline CSS.
- Pick something that you are interested in that you would want to create a web page about. It could be a TV show, a movie, your pet, a video game, a hobby — anything you like. You can grab images and text from an external source.
- Save images in a folder named
images. - At the top, use a heading tag to display the title of the page, which is the topic you chose.
- Create two sections (use
<div>tag to create each section). The first section must include:- A secondary heading tag that displays “About [name of interest]”
- An image that represents the image
- At least two paragraphs about the topic. The text can be from an external source.
- A table with at least three rows and columns. You will need to research how to create a table with HTML.
- Add a background color to the table heading (the first row of the table).
- Some spacing inside and outside the section (see sample).
- The second section must include:
- A secondary heading tag that displays “Why I like [name of interest]”
- A bullet point list with at least three bullet points describing why you like this topic.
- Some spacing inside and outside the section (see sample).
- Both sections must have a border around it and a width set.
- Horizontally center both sections.
- Add a background color to the browser.
- Bonus: not required but if you have time — add a custom font using Google fonts (https://fonts.google.com/).
- Misc requirements
- All elements and text need to be readable (i.e. no dark text colors on dark backgrounds).
- No text or images should be at edges of containers or text. Add spacing. See sample for details.
- Add spacing between the title and the two sections. See sample for details.
- Make sure all tags are closed, all attributes have opening and closing double quotes, and no extraneous tags linger. You will be deducted points for syntax errors.
- You can use a validator like this one to check for syntax errors: https://validator.w3.org/
Submission/Upload to the server
Please follow the submission requirements below carefully. You will be deducted points for not following submission requirements to the teeth.
- Open a browser and go to https://303.itpwebdev.com/cpanel (it will redirect you to https://54-148-150-30.cprapid.com:2083/).
- Login with your username and password (this password does not sync with your USC NETID password. You have created this password separately. If you don’t remember your password, post on EdStem and a course staff member will reset it for you).
- Scroll down to Files section and click on File Manager. You will see a list of folders and files like below.
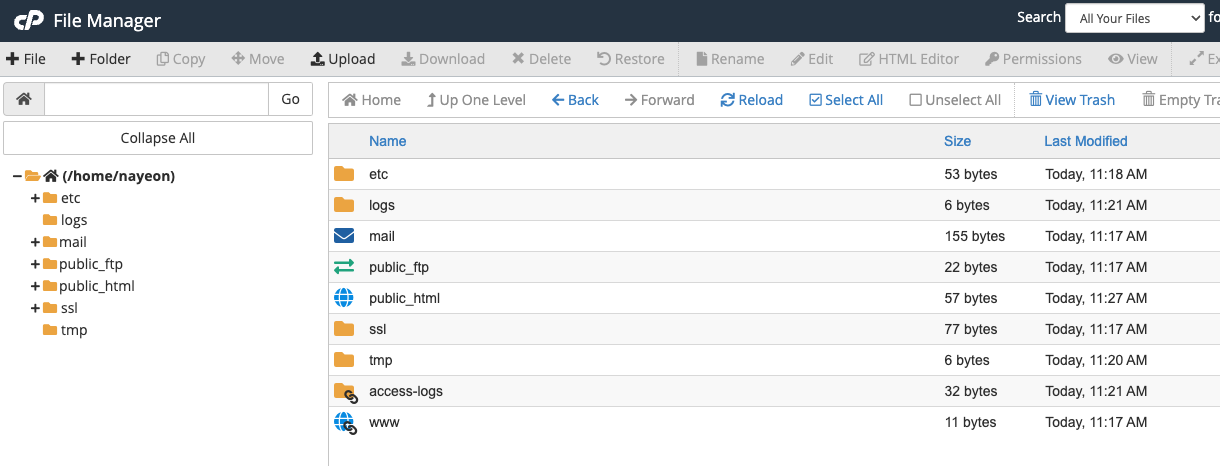
- Double click to navigate inside the
public_htmlfolder. - Create a new folder inside the
public_htmlfolder by clicking on the “+Folder” button on the top left.
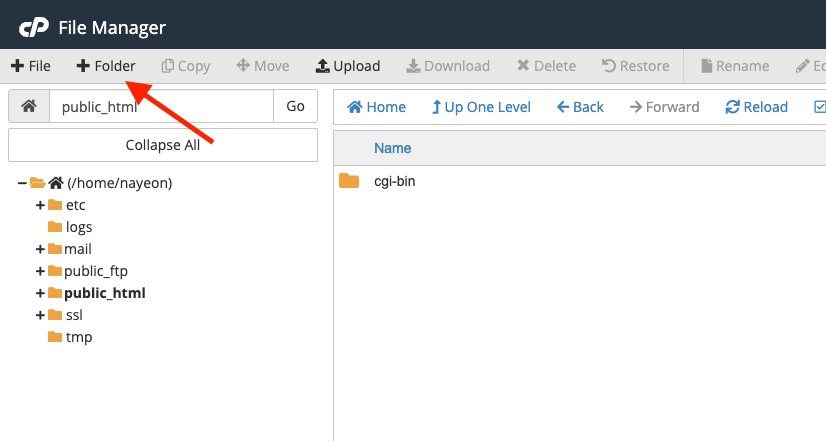
- Name the folder
assignment01. Double click it to navigate inside this folder. - Click on “Upload” to upload your
interest.htmlfile to this folder.
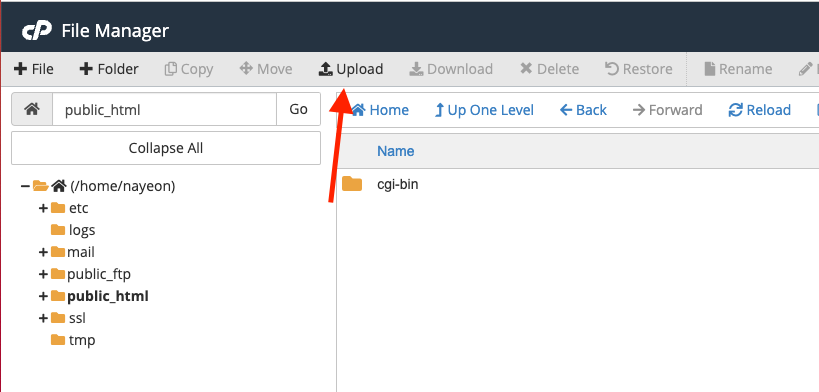
- Drag and drop your
interest.htmlto upload this file to the server. - Create another folder for your images and upload your images to this folder. Note: file/folder names are case sensitive so use the exact same name and letter casing for all folders/files as you did on your computer.
- In your browser, go to
http://303.itpwebdev.com/~yourusername/assignment1/interest.htmlto check that the assignment file has been uploaded correctly. - One last thing. In your computer, open up
student_page.htmlthat you created in Lab 1. Add a link to this assignment tostudent_page.htmlunder the heading “Assignments” so that the graders can easily access your completed assignment. - Re-upload the updated
student_page.htmlto the itpwebdev server via cPanel -> Files -> File Manager. If it asks you want to overwrite the previous file, click Yes. - If all the above is completed, go to your student page at
http://303.itpwebdev.com/~yourusername/student_page.htmland check that the link to this assignment is there. The TAs/graders use this link to access your assignment so make sure this is working! Here is a sample of what it should look like: http://303.itpwebdev.com/~nayeon/student_page.html (screenshot is also below).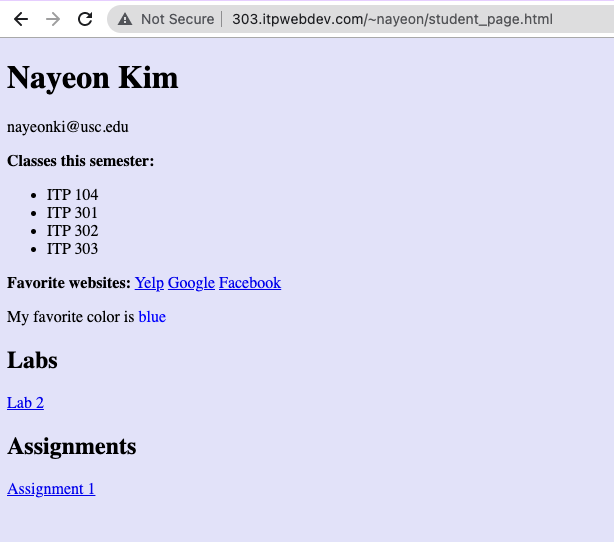
- (Optional) If you are having trouble uploading to the server and cannot upload on time, add all files for this assignment in a folder, compress it as a .zip file and upload it to Blackboard. On Blackboard, go to Assignments -> Assignment 1: Interests Page. You will get some points deducted for not uploading correctly but at least you will not get a zero.
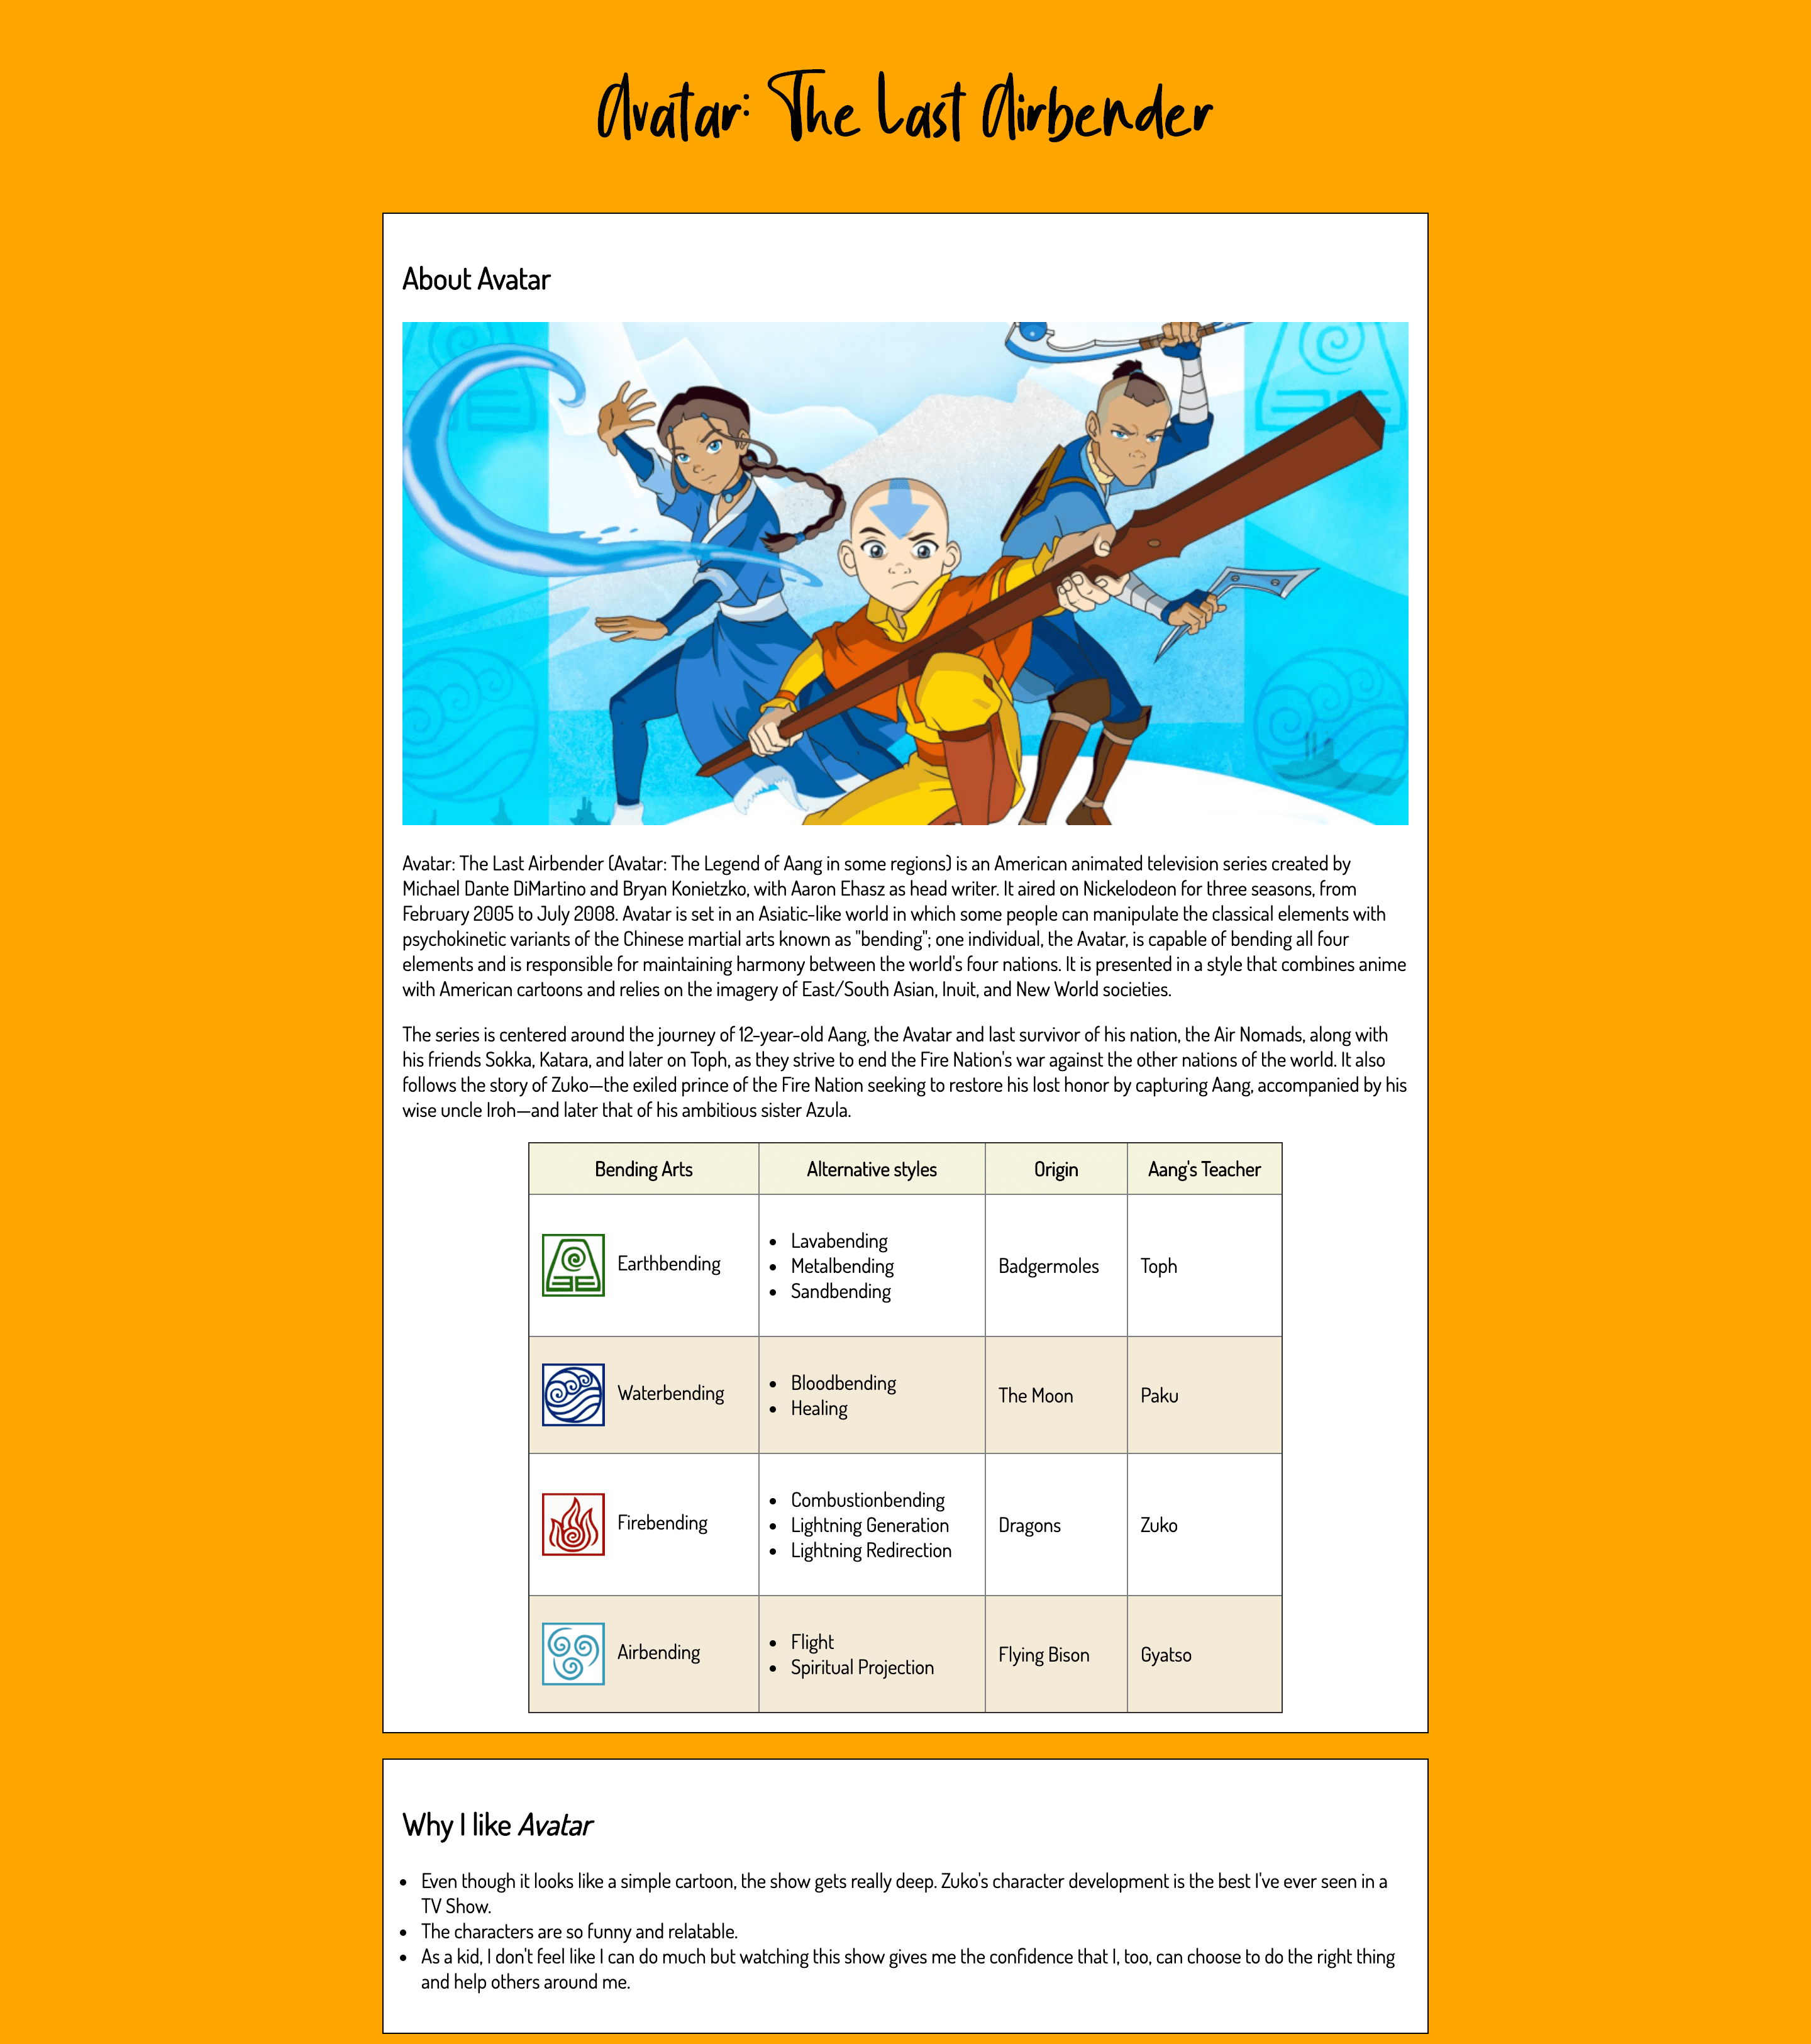
Sample
Note: the sample below covers more than the requirements.